|
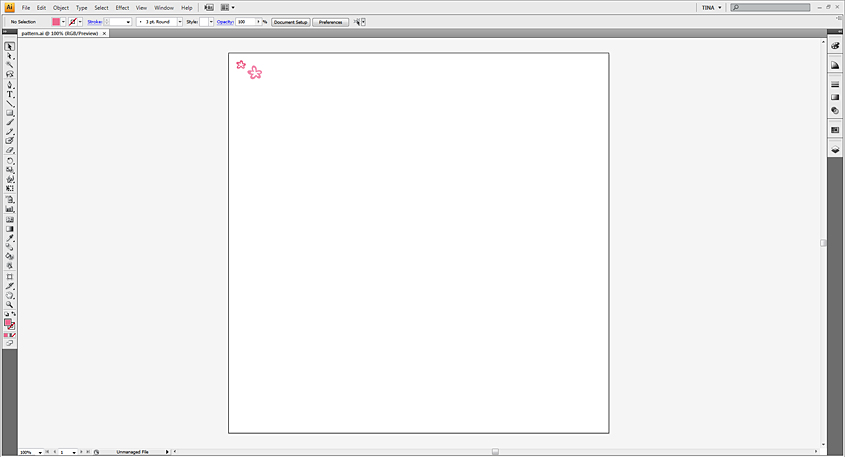
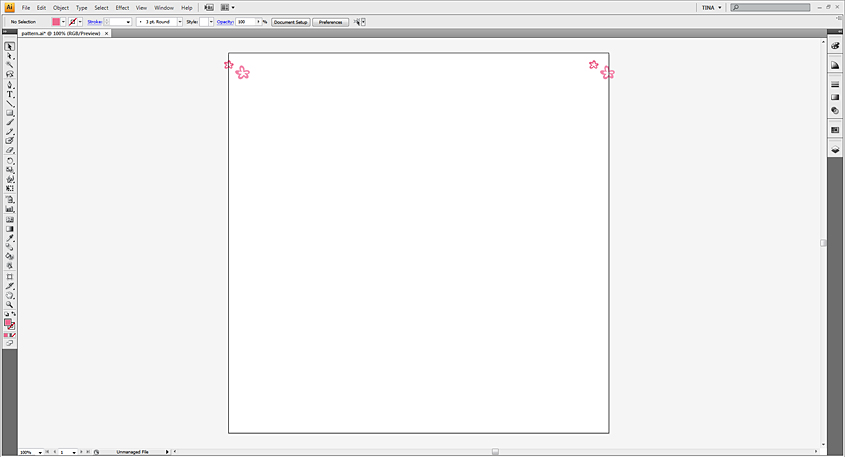
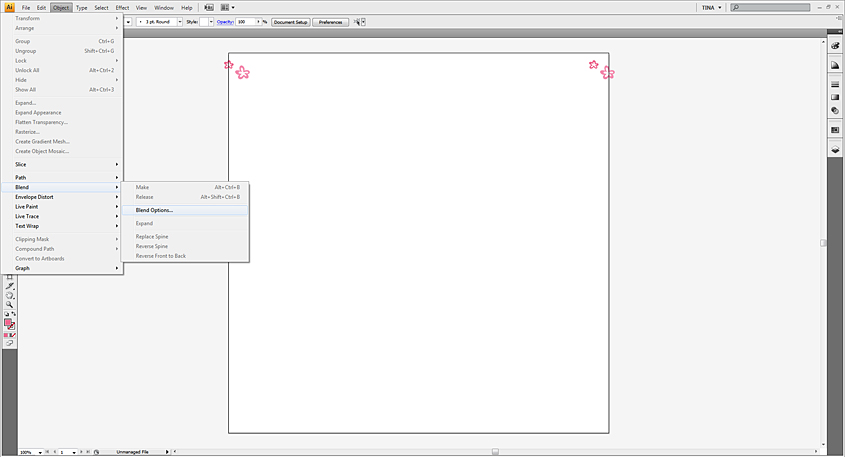
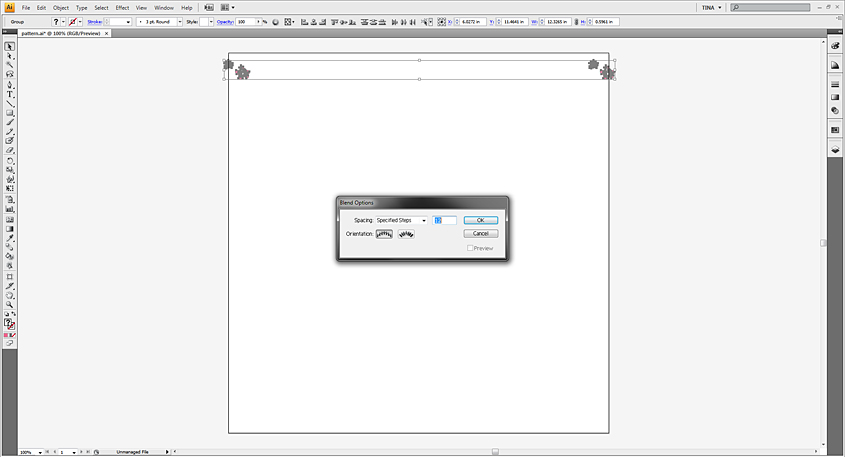
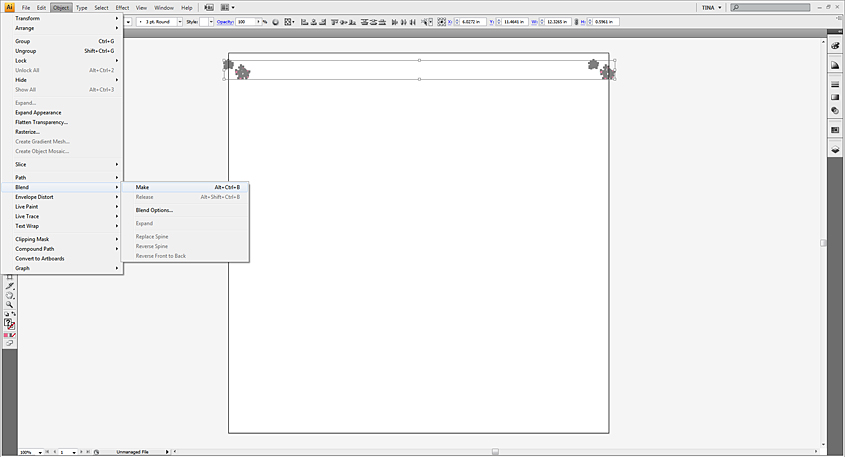
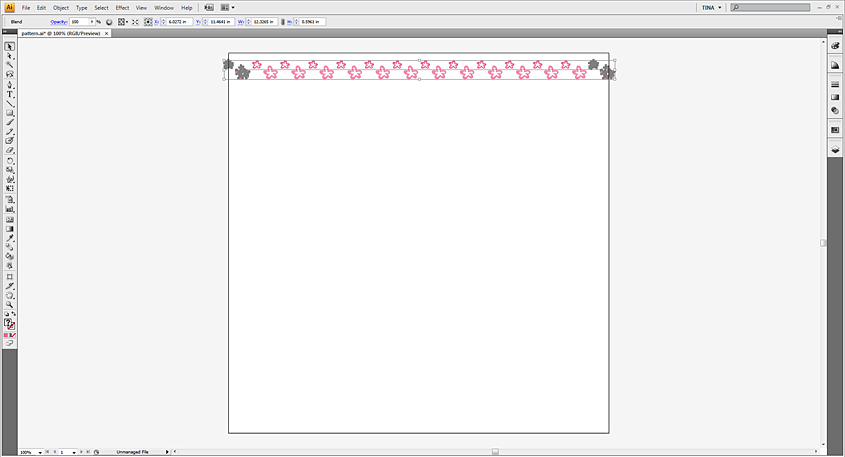
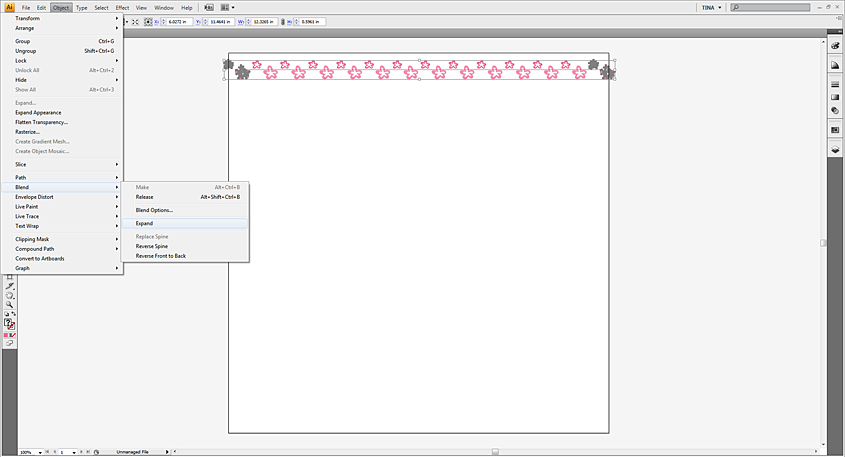
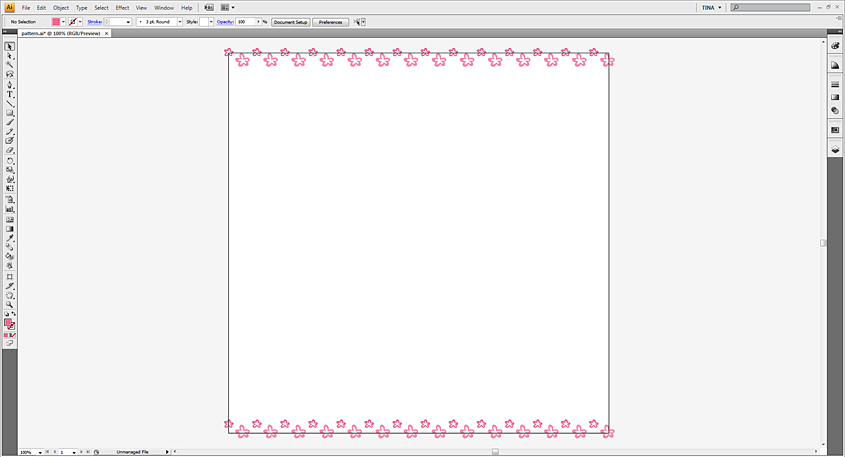
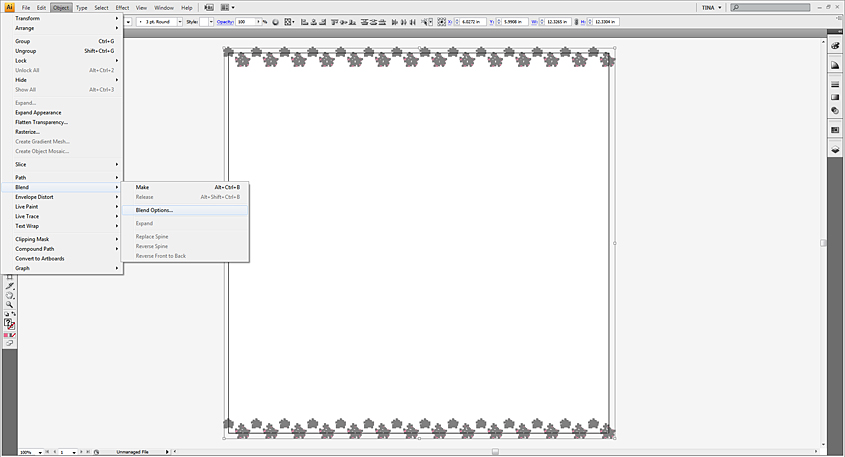
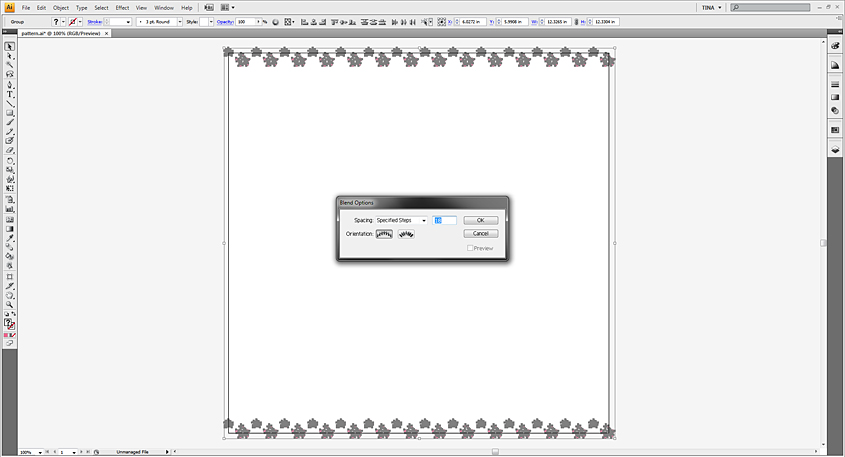
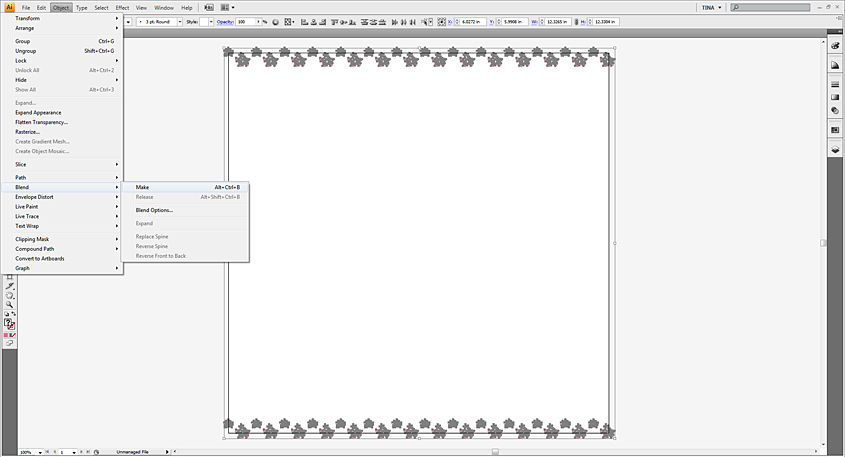
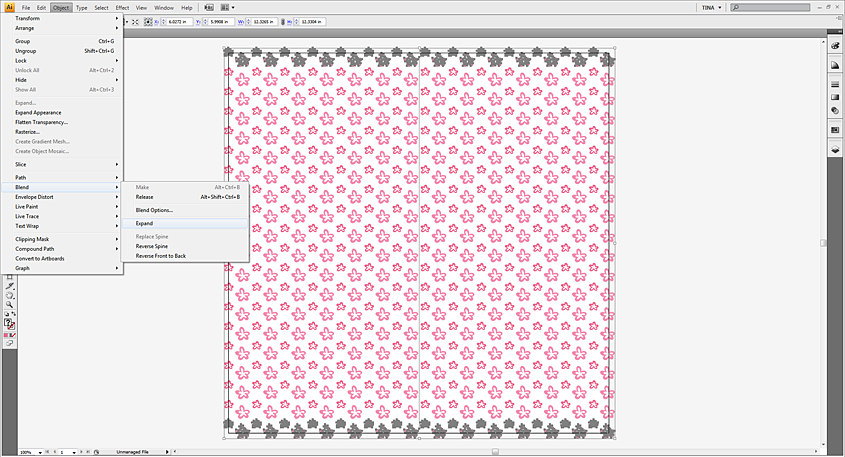
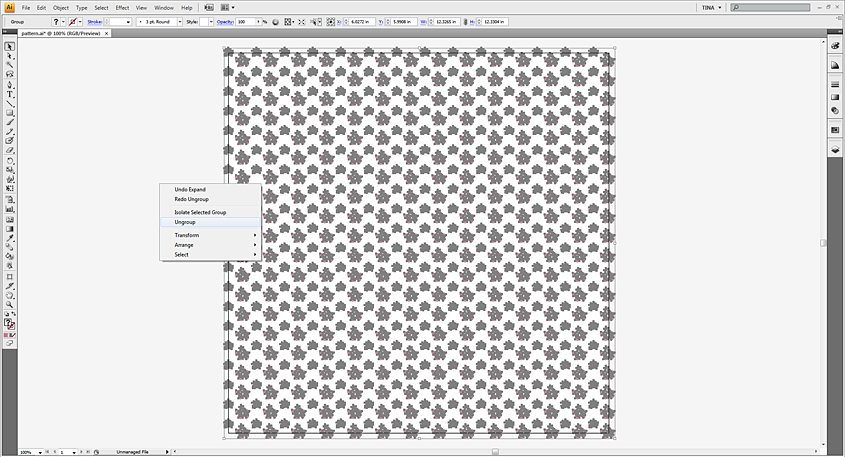
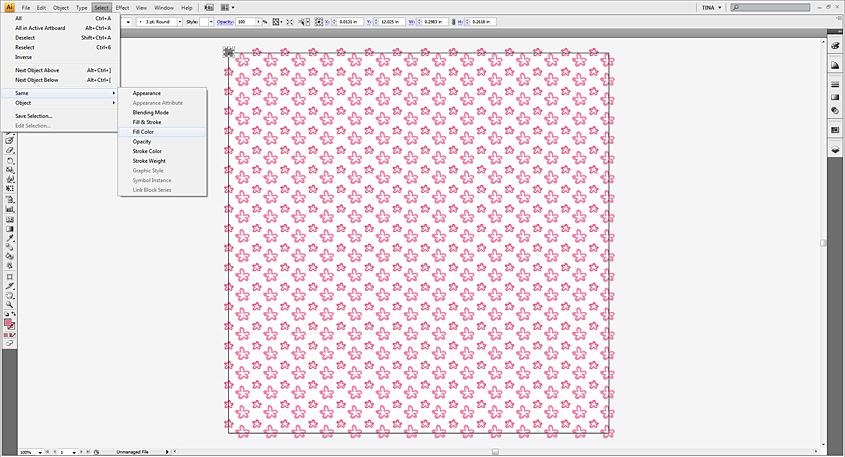
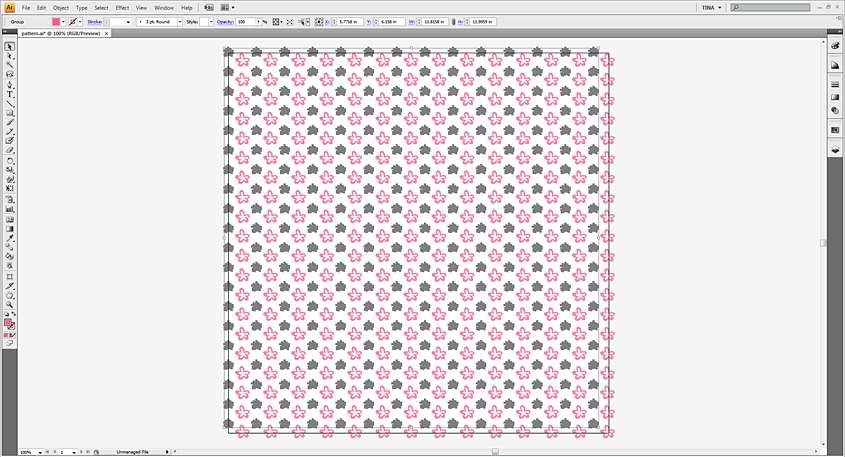
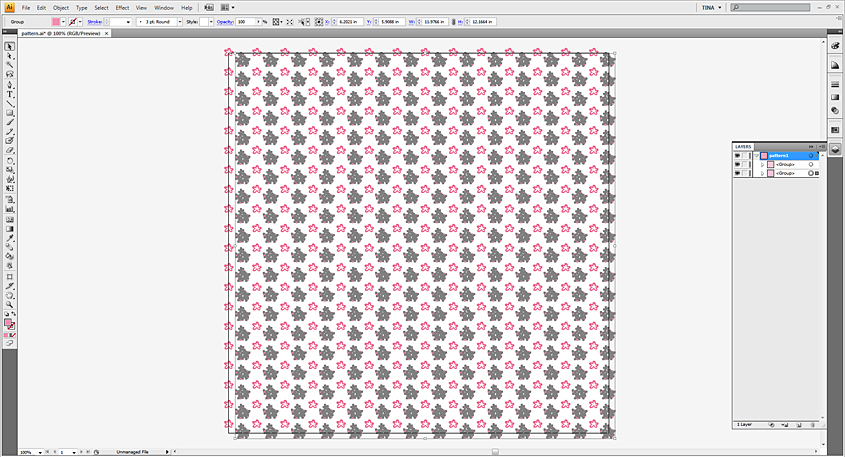
Miss Tiina - Easy Repeating Pattern Tutorial for Adobe Illustrator This tutorial will show you how to easily design a repeating pattern in Adobe Illustrator. To begin let's make a new document in Illustrator. File - New. For a digital scrapbook background paper create it 12x12 inches with RGB color mode and 300ppi. Then you'll need some vector art - I have picked a couple flowers from my Endless Summer {CU} vector set. Now that you have grouped them together move the group slightly off the left side of the document. While the group is still selected, press CTRL + C to copy and then CTRL + F to paste in front. Click and hold the top group with your pen or mouse, then click and hold down the shift key to drag the duplicated group to be slightly off the right side of the document as shown below. ----------------------------------------------------------------------------------------------------------------Click and drag to select both groups. In your menu at the top go to Object - Blend - Blend options. This is where you will set the amount of times the object will repeat inside the two grouped objects. ----------------------------------------------------------------------------------------------------------------You should now see a box with some options to select. Choose "Specified Steps" from the drop down. I have entered 12 in the box as I think this will be a good amount of times to repeat my design between the others. Depending on your design, this will vary and you will need to play around to find out which will work best. Leave the "Orientation" selected on the first option as shown below. ----------------------------------------------------------------------------------------------------------------Now that you have set the steps between, go to Object - Blend - Make or press ALT + CTRL + B. ----------------------------------------------------------------------------------------------------------------This is what you should now see... or something like it :) ----------------------------------------------------------------------------------------------------------------Now we need to expand this blended bunch... go to Object - Blend - Expand as shown below. ----------------------------------------------------------------------------------------------------------------Now it's time to copy and paste to the bottom of the document in the same manner we just did above so the pattern repeats down. Move your group slightly off the top of the document. Again while the group is still selected, press CTRL + C to copy and then CTRL + F to paste in front. Click and hold the top group with your pen or mouse, then click and hold down the shift key to drag the duplicated group to be slightly off the bottom of the document as shown below. ----------------------------------------------------------------------------------------------------------------Click and drag to highlight both groups and again we will set the blend options for the "Specified Steps". Object - Blend - Blend Options. ----------------------------------------------------------------------------------------------------------------This time I have chosen 18 steps as my original group (of 2 flowers) is not as tall as it is wide - so it will need to repeat down more times than across. Again you may have to play around with this to get the right amount depending on the pattern. ----------------------------------------------------------------------------------------------------------------Once again, go to Object - Blend - Make or press ALT + CTRL + B. ----------------------------------------------------------------------------------------------------------------You should now have your full pattern ready to expand. Go to Object - Blend - Expand. ----------------------------------------------------------------------------------------------------------------This process groups the entire bunch together so we will need to ungroup everything. While all is highlighted, right click and click ungroup - do this 2 times or as many times needed until all the objects are ungrouped. ----------------------------------------------------------------------------------------------------------------And there we have it, a nice and easy repeating pattern! This is just a simple repeat, explore this technique with other art and get creative to design more intricate patterns! Want to see how I've done it closer? Click the image below to download mine :) (.ai, .pngs and layered .psd/.tif included - cu ok!) This next step is optional - to group the certain colors (for easy exporting or recoloring). Select one of the colors in your design then go to Select - Same - Fill Color (or stroke color if using outlines). ----------------------------------------------------------------------------------------------------------------As you see below it will select all the smaller darker pink flowers in my design. Hit CTRL + G to group them. ----------------------------------------------------------------------------------------------------------------Select - Same - Fill color (or stroke color) again on the other parts of your design. Grouping them as well. Now you can see in my layers panel that I have my 2 colors of flowers grouped together on their own. I especially like to do this for exporting purposes. |
